Information Gathering in Kali Linux – Complete Practical Lab Guide
Information Gathering is the first and most critical phase of penetration testing. Before exploiting any system, a security professional must understand:
What systems are running
Which ports are open
What services are exposed
What information is publicly available
In this blog, you will learn how to perform Information Gathering using tools available in Kali Linux.
🔍 What is Information Gathering?
Information Gathering (Reconnaissance) is the process of collecting data about a target system, network, or domain.
It is divided into:
Passive Reconnaissance – Collecting data without interacting directly with the target
Active Reconnaissance – Direct interaction with the target (e.g., port scanning)
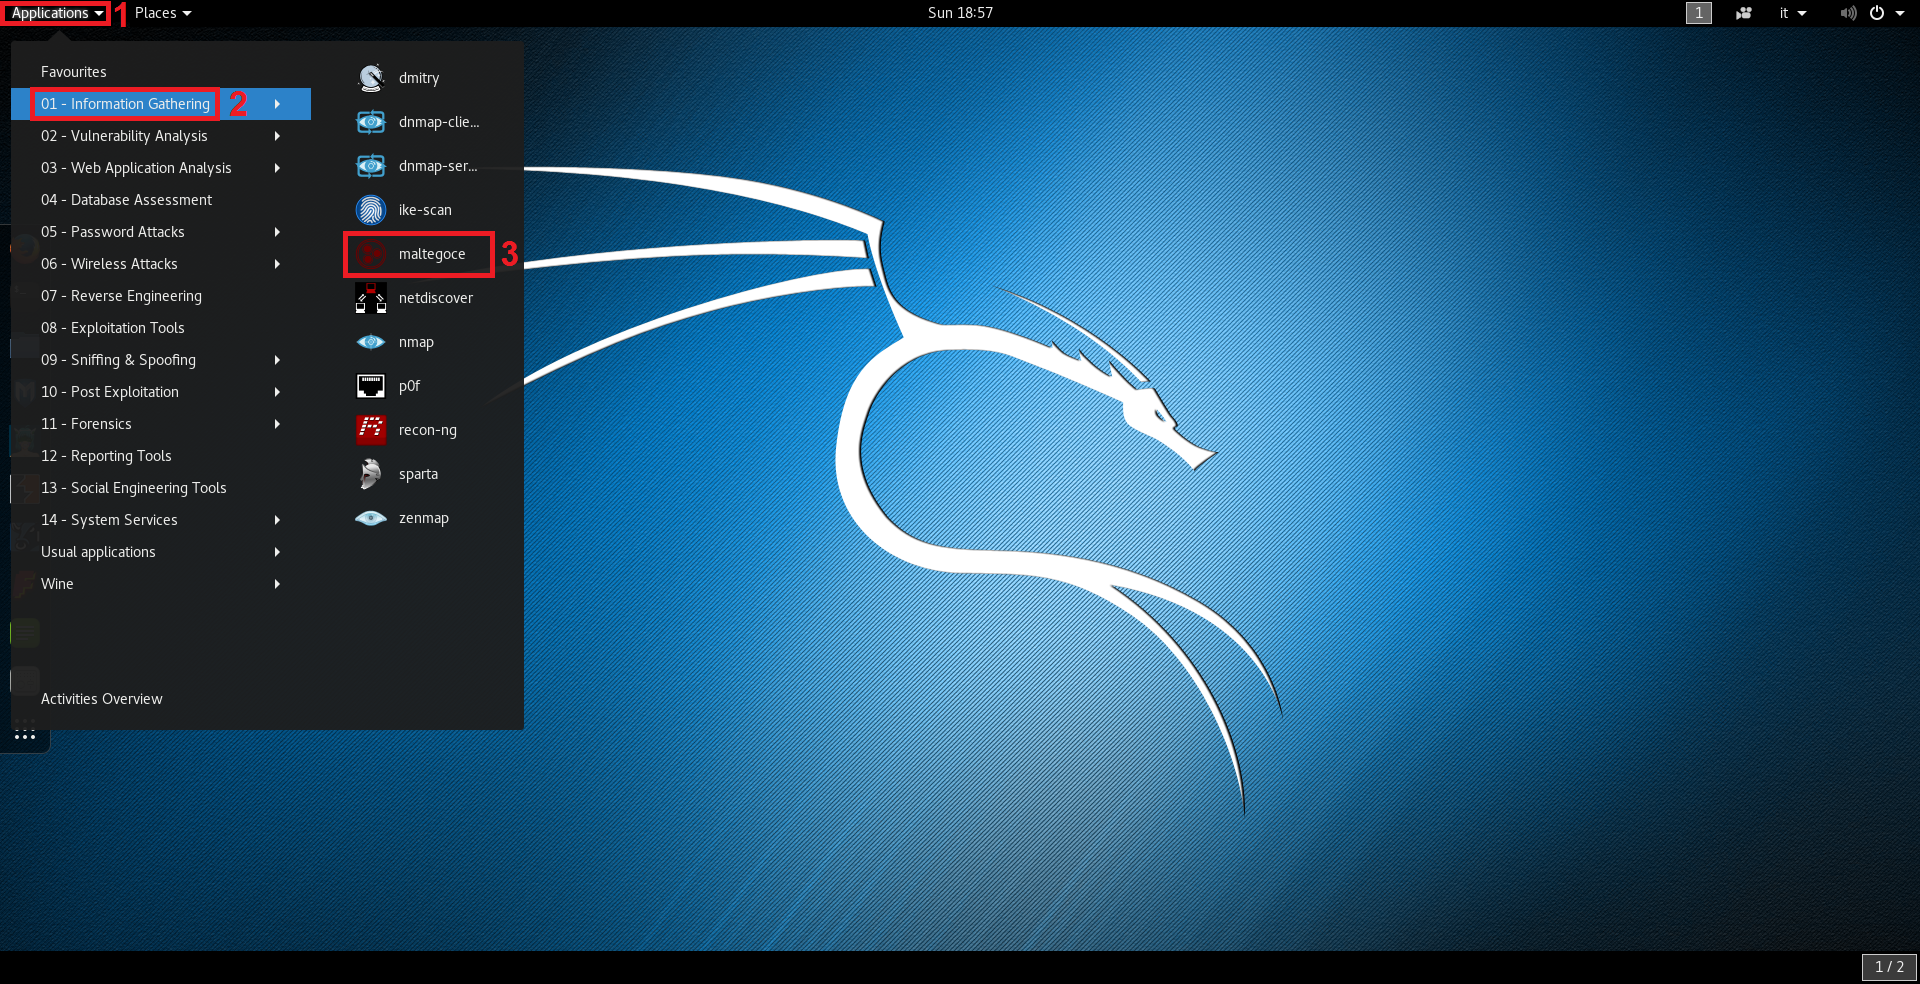
Kali Linux provides multiple built-in tools under:
Applications → Information Gathering
🧪 Lab Setup
To perform this lab safely:
Attacker Machine: Kali Linux
Target Machine: Metasploitable 2 or Ubuntu VM
Network Mode: Host-Only / Internal Network
Example IP setup:
| Machine | IP Address |
|---|---|
| Kali | 192.168.56.101 |
| Target | 192.168.56.102 |
Check IP using:
ip a
1️⃣ Nmap – Network Discovery & Port Scanning
About Nmap
Nmap is the most powerful and widely used network scanning tool.
It helps in:
Host discovery
Port scanning
Service detection
OS detection
🔹 Basic Host Discovery
Scan entire subnet:
nmap 192.168.56.0/24
This identifies live machines.
🔹 Port Scanning
Scan target machine:
nmap 192.168.56.102
Scan specific ports:
nmap -p 21,22,80 192.168.56.102
🔹 Service Version Detection
nmap -sV 192.168.56.102
This reveals service versions like Apache, FTP, SSH.
🔹 OS Detection
sudo nmap -O 192.168.56.102
Nmap attempts to identify the operating system.
2️⃣ Zenmap – GUI Version of Nmap
About Zenmap
Zenmap is the graphical interface of Nmap.
It is useful for beginners who prefer GUI over command line.
How to Use
Launch:
zenmap
Or:
Applications → Information Gathering → Zenmap
Steps:
Enter Target IP
Select Profile (Quick Scan / Intense Scan)
Click Scan
Zenmap provides:
Visual output
Topology mapping
Easy report saving
3️⃣ Stealth Scan (SYN Scan)
A Stealth Scan is performed using:
sudo nmap -sS 192.168.56.102
How It Works:
Sends SYN packet
Does not complete TCP handshake
Harder to detect
Comparison:
nmap -sT 192.168.56.102
| Scan Type | Option | Description |
|---|---|---|
| TCP Connect | -sT | Full handshake |
| Stealth SYN | -sS | Half-open scan |
Stealth scan is commonly used during penetration testing to avoid detection.
4️⃣ Dmitry – Domain Information Gathering
About Dmitry
Dmitry is used for collecting domain-related intelligence.
It performs:
WHOIS lookup
Subdomain discovery
Email harvesting
Usage Example
dmitry example.com
Full scan:
dmitry -winse example.com
Options:
-w → WHOIS
-i → IP lookup
-n → Netcraft info
-s → Subdomains
-e → Email addresses
This tool is useful for Passive Reconnaissance.
5️⃣ Maltego – Visual OSINT Mapping
About Maltego
Maltego is an advanced OSINT tool that visually maps relationships between domains, IPs, emails, and organizations.
How to Use
Open Maltego
Create New Graph
Drag a "Domain" entity
Enter target domain
Run Transforms
Maltego automatically maps:
Domain → IP
Domain → DNS
Domain → WHOIS
This provides a visual intelligence structure.
📚 Key Differences Between Tools
| Tool | Type | Purpose |
|---|---|---|
| Nmap | Active | Port & service scanning |
| Zenmap | GUI | Visual Nmap scanning |
| Stealth Scan | Active | Low-detection scanning |
| Dmitry | Passive | Domain intelligence |
| Maltego | Passive/OSINT | Relationship mapping |
🎯 Learning Outcome
After completing this lab, you will:
Understand reconnaissance methodology
Perform active network scanning
Identify open ports and services
Gather domain intelligence
Visualize OSINT data
Compare CLI and GUI approaches
No comments:
Post a Comment