🛡️ Introduction to Ethical Hacking (Complete Beginner Guide)

1.1 What is Ethical Hacking?
Ethical hacking means checking computer systems for security problems with permission, so that those problems can be fixed before criminals try to use them.
You can think of ethical hacking as being a security tester for computers and networks.
🔐 Simple Example
Imagine your computer network is like a house:
Bad hackers (Black Hats) → Like thieves who break in without permission to steal or damage.
Ethical hackers (White Hats) → Like security inspectors invited by the owner to check locks, doors, and windows.
If they find a weak lock, they report it so it can be fixed.
👉 In the same way, ethical hackers test:
Websites
Applications
Networks
to find weaknesses before cybercriminals do.
1.2 Why is Ethical Hacking Important?


The main goals of ethical hacking are:
✔️ Find security weaknesses in systems and networks
✔️ Prevent cyber-attacks before they happen
✔️ Protect important information (passwords, personal data, financial records)
✔️ Keep systems safe for users
👉 Ethical hacking helps organizations stay one step ahead of hackers.
1.3 Where Do Ethical Hackers Check for Security Problems?


Ethical hackers test many systems we use daily:
🌐 Websites
Online shopping sites or portals
→ Check if user data can be stolen
📱 Mobile Apps
Banking, UPI, ticket booking apps
→ Ensure payments and data are secure
💻 Computers & Wi-Fi Networks
Office systems and servers
→ Check unauthorized access risks
📲 Social Media Accounts
→ Test login security and protection systems
🏦 Banking & 🏥 Hospital Systems
→ Protect financial and medical data
👉 Their goal is to find and fix weaknesses before attackers exploit them.
1.4 Types of Hackers (Easy Chart)


| Type of Hacker | Description |
|---|---|
| 🟢 White Hat | Ethical hackers working legally to improve security |
| ⚫ Black Hat | Criminal hackers who steal or damage data |
| ⚪ Grey Hat | Mix of both, may hack without permission but not always malicious |
🇮🇳 1.5 Why India Needs Ethical Hacking NOW

1.5.1 Importance in India
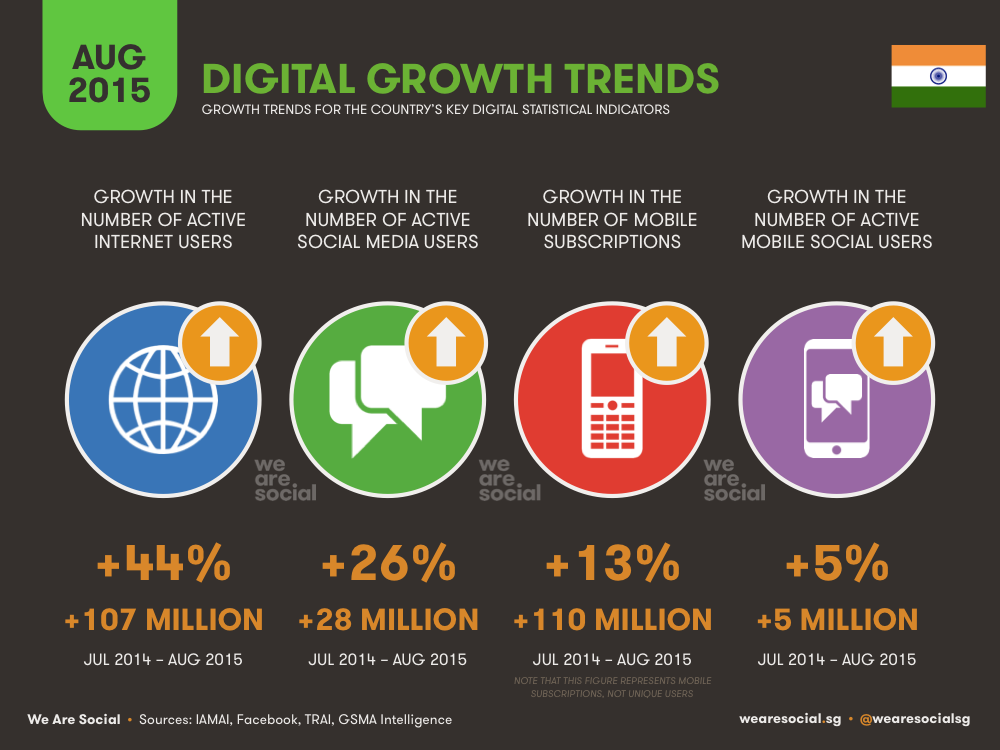
India is one of the fastest-growing digital countries:
📱 1+ billion mobile users
💸 Massive UPI transactions (lakhs of crores monthly)
🌐 Millions using online services daily
👉 But with growth comes cybercrime.
Hackers target:
Banking apps
Government systems
Websites
Online users
👉 That’s why ethical hacking is critical for India today.
1.5.2 Real Cyber Incidents in India


🚨 Major Incidents:
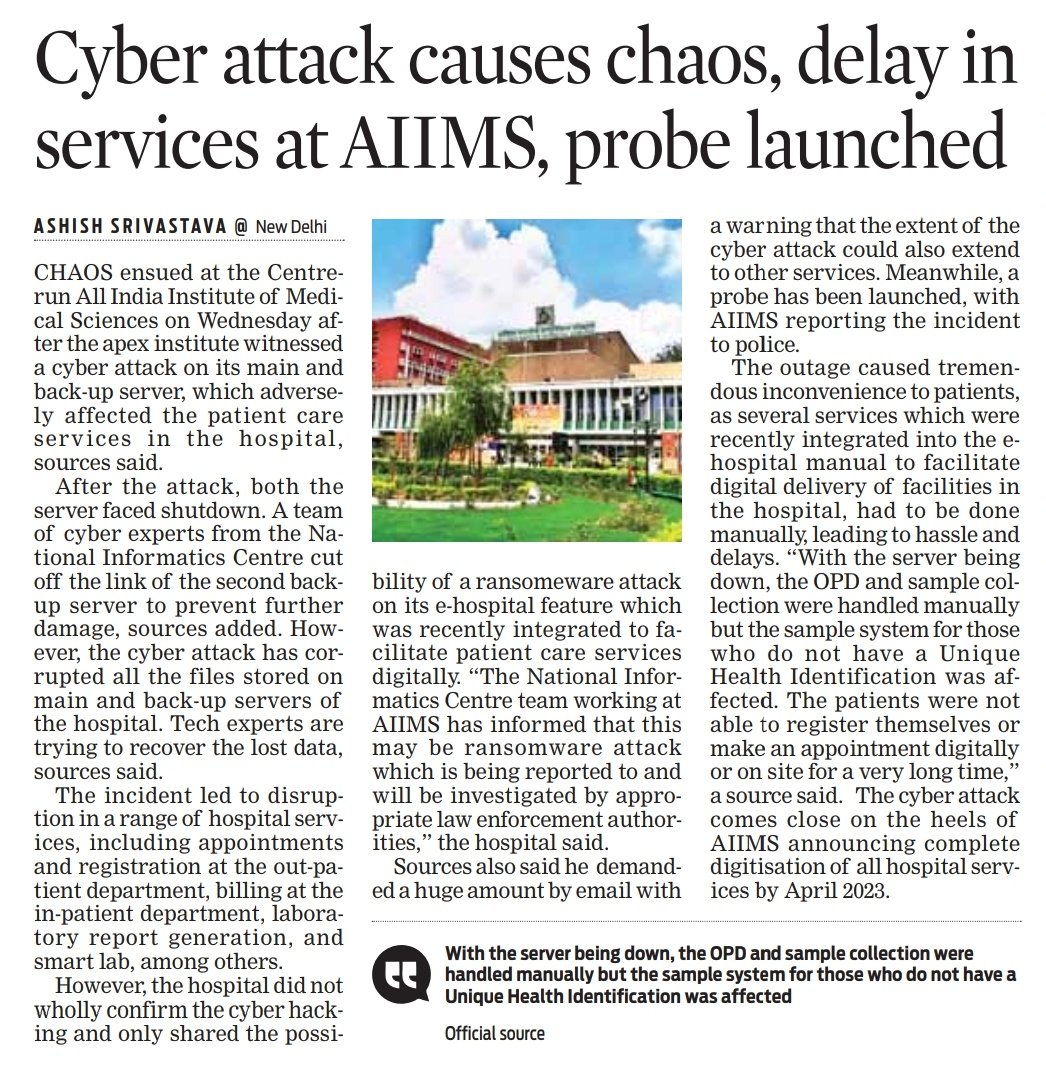
AIIMS Delhi Ransomware Attack (2022)
Hospital systems stopped; manual work continued for daysCoWIN Data Leak Concern (2023)
Citizen data reportedly accessed via Telegram botAir India Data Breach (2021)
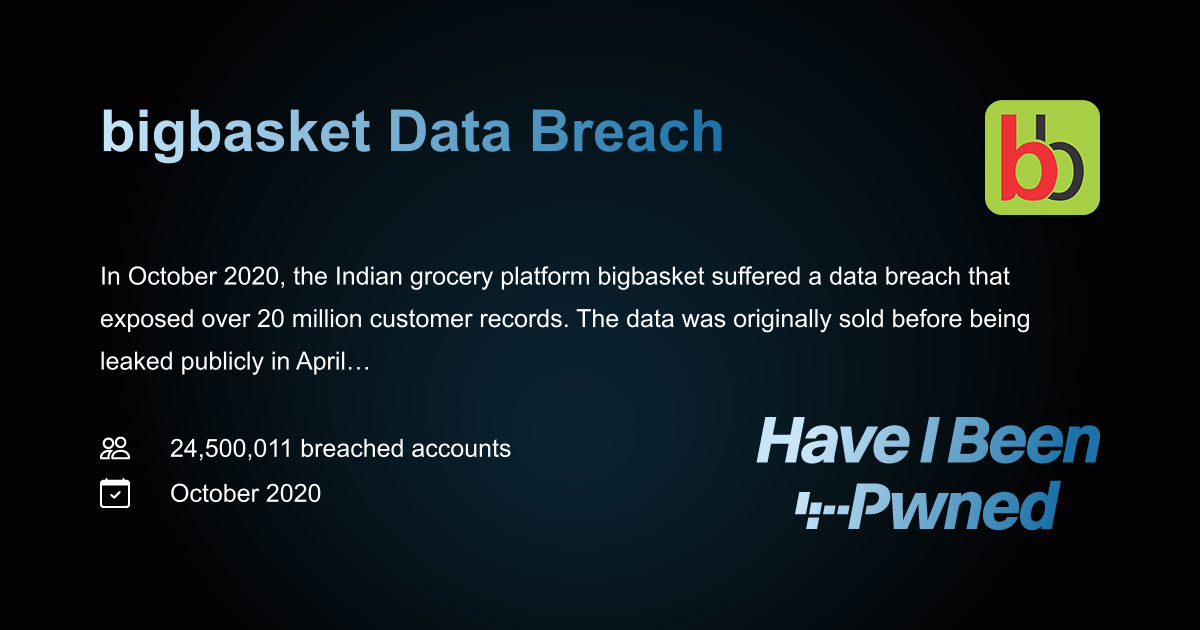
4.5 million passengers’ data exposedBigBasket Data Breach (2020)
20 million users’ data leakedKudankulam Nuclear Plant Malware (2019)
Critical infrastructure targetedRising Online Fraud
OTP scams, phishing, fake police calls
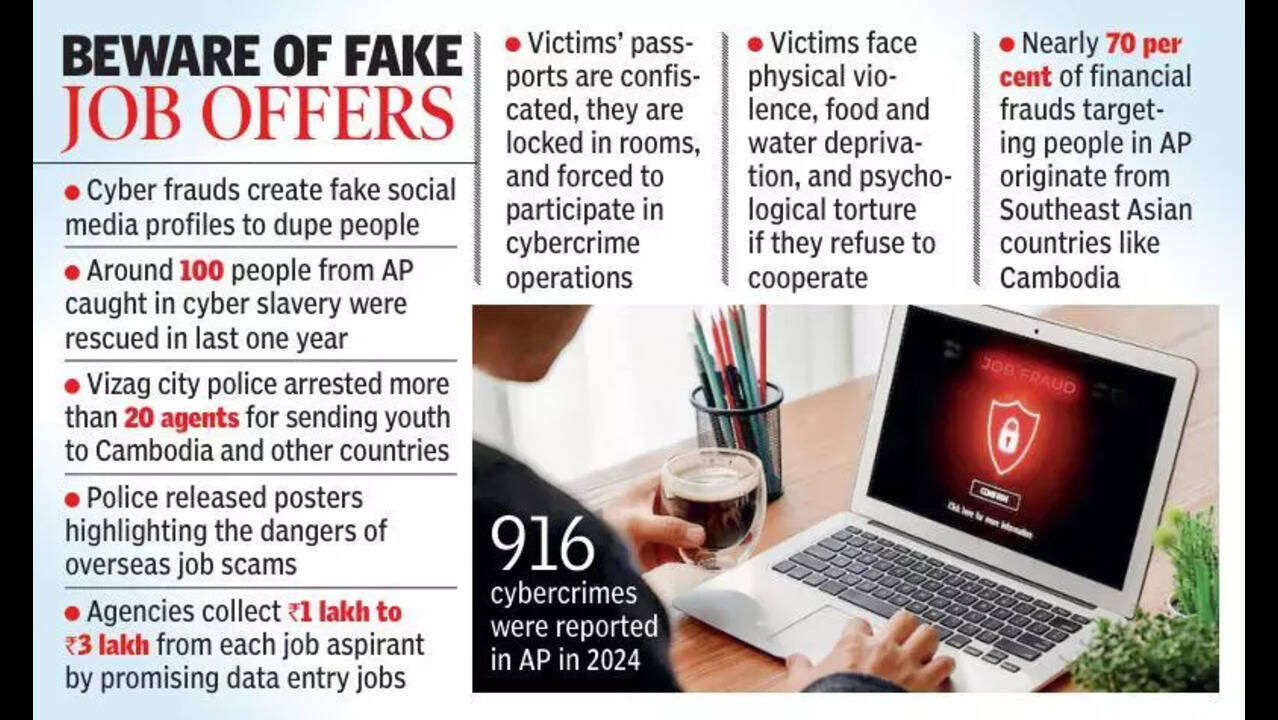
1.5.3 Common Cyber Attacks in India
🎣 Phishing – Fake emails/messages
💳 UPI Fraud – OTP/PIN scams
📂 Data Leaks – Personal info exposed
🔒 Ransomware – Systems locked for money
📱 Social Media Hacking – Account takeovers
1.5.4 Real-Life Scam Example
📩 You receive a WhatsApp message:
“Your bank account is blocked. Click this link and enter your OTP.”
👉 If you enter OTP → attacker can steal your money.
1.5.5 Role of Ethical Hackers

Ethical hackers help by:
🔍 Finding vulnerabilities before criminals
🛠️ Helping companies fix security issues
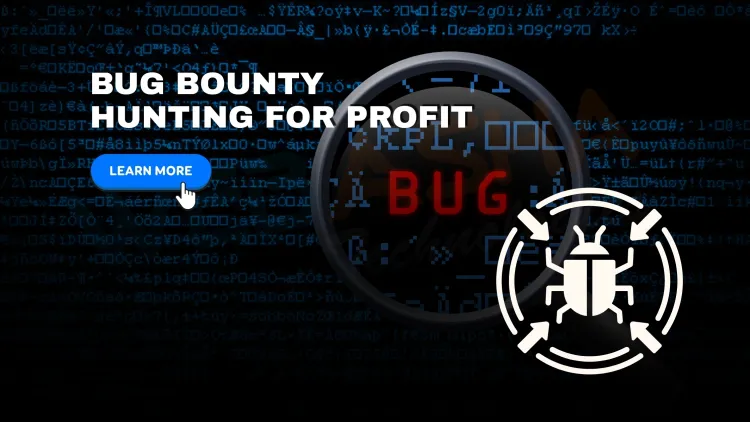
💰 Participating in bug bounty programs
Companies like:
PhonePe
Paytm
👉 Reward ethical hackers for reporting bugs.
Government Role:
Strong cybersecurity rules
Data protection laws
Regular security audits required