Below is your Level-Wise Detailed Syllabus for the Certified Professional Penetration Tester (CPPT) – Nehraeduhub
Structured for:
Clear progression
Practical-heavy training
Easy marketing positioning
Smooth upgrade funnel
🟢 LEVEL 1 – FOUNDATION PACK
Duration: 15 Days
Level: Beginner
Goal: Build Strong Cyber & Networking Base
MODULE 1: Cyber Security Fundamentals
Topics:
What is Cyber Security
Types of Hackers
Ethical Hacking vs Illegal Hacking
CIA Triad
Attack Lifecycle
Basic Security Concepts
Practical:
Understanding attack surface
Identifying vulnerabilities in a sample website
MODULE 2: Networking Fundamentals
Topics:
OSI Model
TCP/IP Model
Ports & Protocols
IP Addressing
Subnetting Basics
DNS, DHCP, HTTP, FTP
Practical:
ipconfig
ifconfig
ping
tracert
netstat
MODULE 3: Linux for Hackers
Topics:
Linux File System
User Management
Permissions
Package Management
Basic Bash Commands
Practical:
ls
chmod
grep
find
nano
MODULE 4: Lab Setup
Topics:
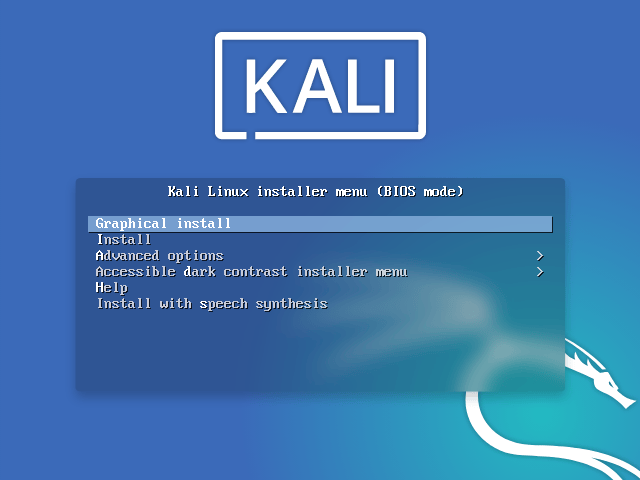
Install Kali Linux
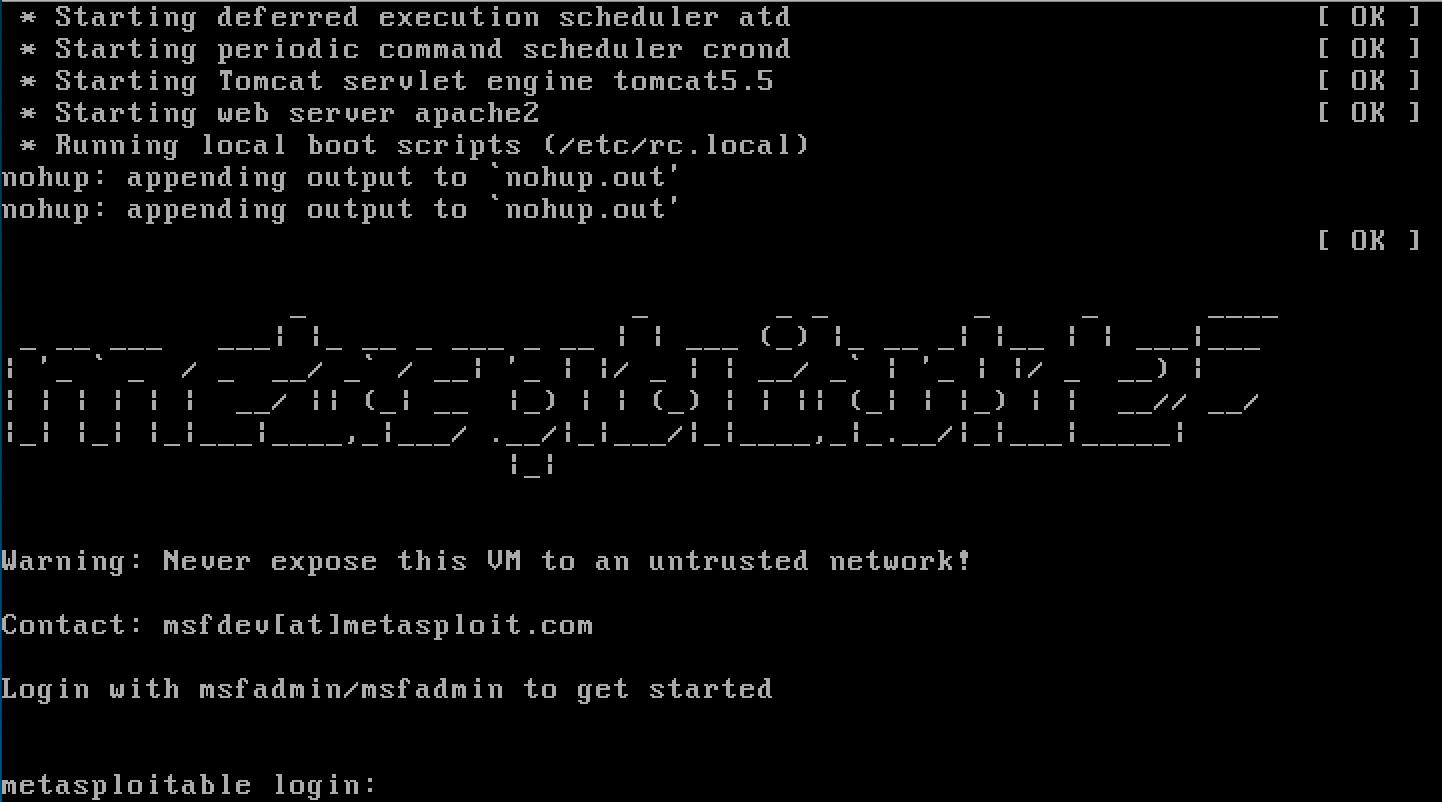
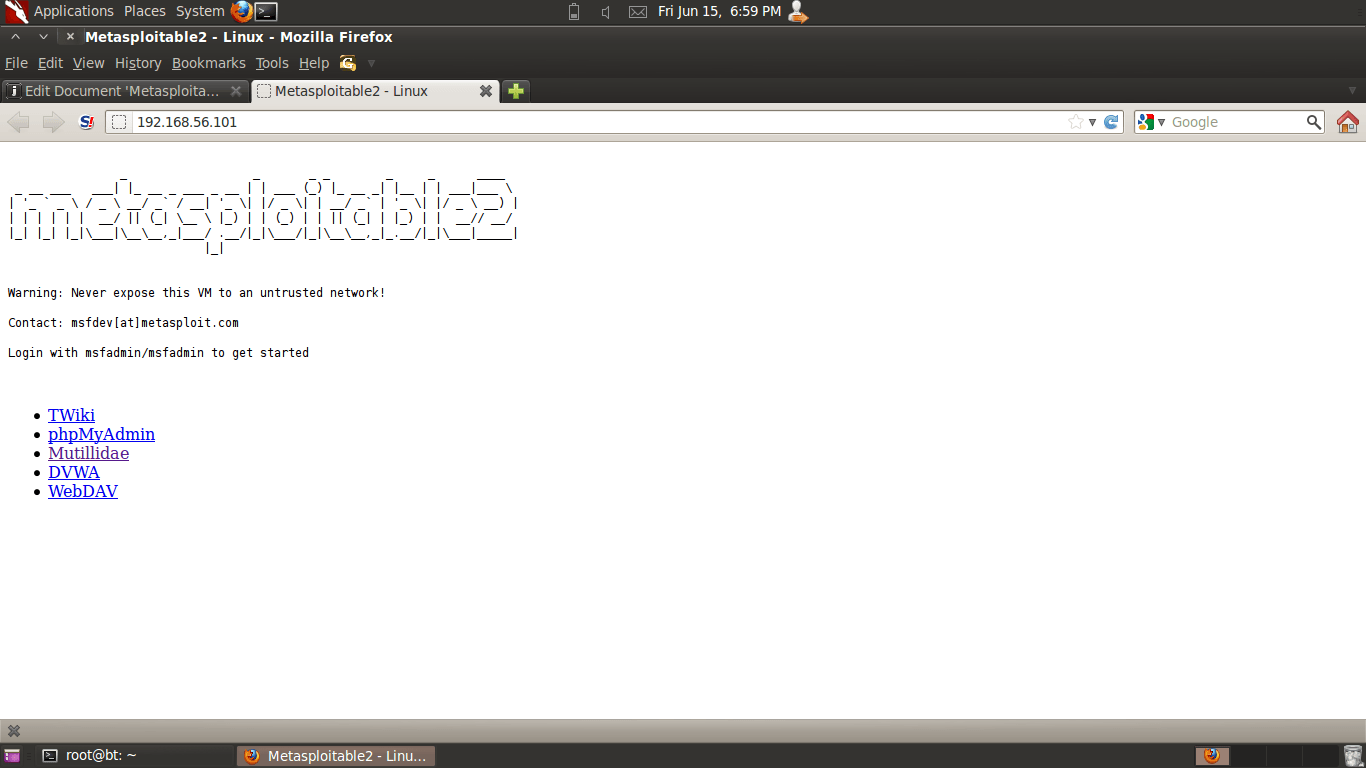
Install Metasploitable
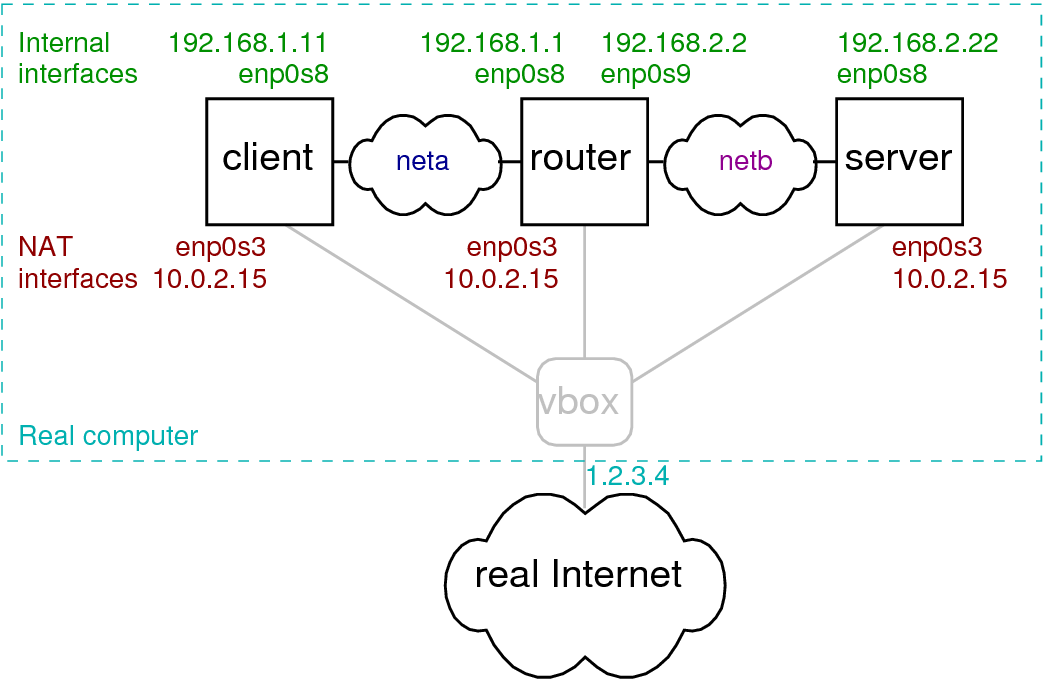
NAT vs Bridged
Internal Network Setup
Snapshot & Backup
Outcome:
✔ Student sets up personal hacking lab
🟡 LEVEL 2 – NETWORK PENETRATION TESTING
Duration: 30 Days
Level: Beginner → Intermediate
Goal: Learn Recon & Vulnerability Assessment
MODULE 1: Information Gathering
Topics:
Passive Recon
Active Recon
WHOIS
DNS Enumeration
Subdomain Discovery
Practical:
whois
nslookup
dig
MODULE 2: Nmap Mastery
Topics:
Port Scanning
Service Detection
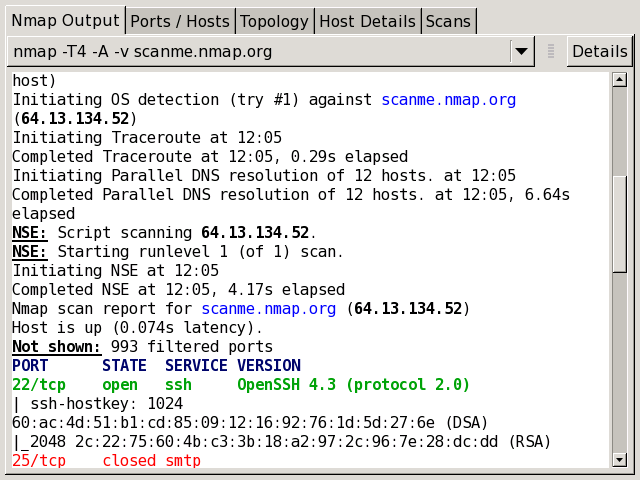
OS Detection
Stealth Scans
Script Scanning
Practical:
nmap -sV
nmap -O
nmap -sS
MODULE 3: Enumeration
Topics:
SMB Enumeration
SNMP Enumeration
FTP Enumeration
User Enumeration
Practical:
enum4linux
smbclient
MODULE 4: Vulnerability Scanning

Topics:
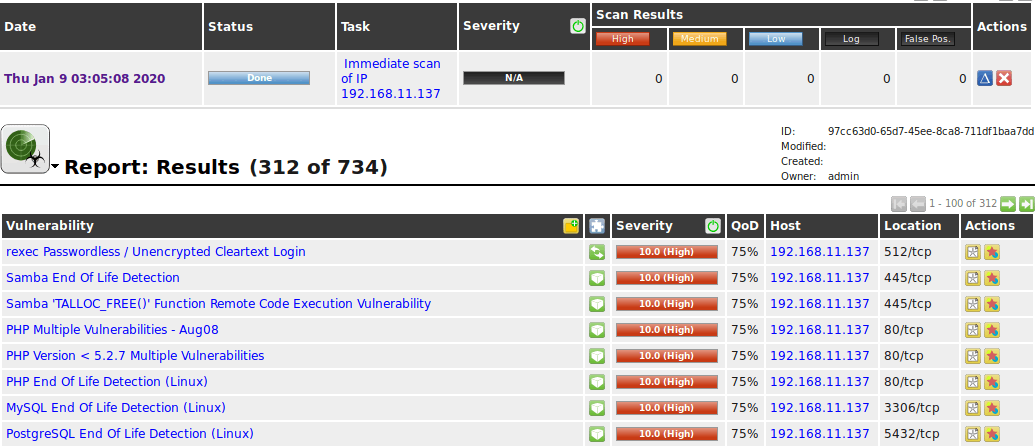
Vulnerability Concepts
CVE Basics
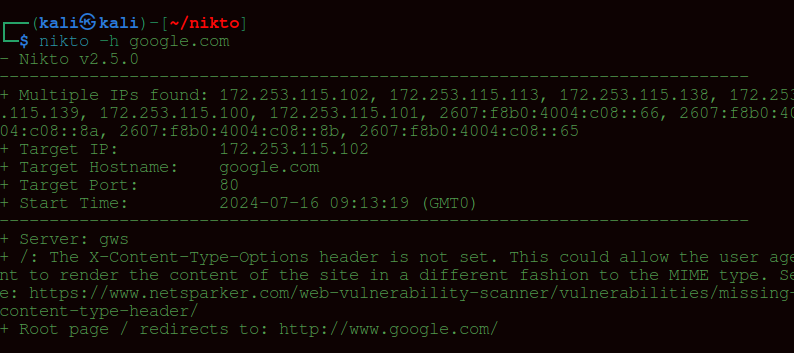
Using Nikto
Using OpenVAS
Outcome:
✔ Student performs full vulnerability scan
✔ Creates vulnerability report
🔴 LEVEL 3 – EXPLOITATION & WEB PENTESTING
Duration: 30 Days
Level: Intermediate
Goal: Real Exploitation Skills
MODULE 1: Metasploit Framework
Topics:
MSF Architecture
Exploit Selection
Payloads
Reverse Shell
Meterpreter
Practical:
Exploit Metasploitable
Gain shell access
MODULE 2: Privilege Escalation
Topics:
Linux Priv Esc
Windows Priv Esc
SUID Misconfigurations
Weak Permissions
Post Exploitation
MODULE 3: Web Application Pentesting
Topics:
HTTP Basics
Burp Suite
SQL Injection
XSS
File Upload Bypass
Authentication Bypass
OWASP Top 10
Practical:
Exploit DVWA
Intercept request using Burp
Perform SQL Injection
MODULE 4: Password Attacks
Topics:
Brute Force
Dictionary Attacks
Hash Cracking
Hydra
John the Ripper
Hashcat
Outcome:
✔ Student performs exploitation
✔ Cracks password hash
✔ Documents findings
🔵 LEVEL 4 – ACTIVE DIRECTORY & ADVANCED OFFENSIVE
Duration: 30 Days
Level: Advanced
Goal: Enterprise-Level Attacks
MODULE 1: Active Directory Basics
Topics:
Domain Structure
Domain Controller
LDAP
Kerberos Basics
MODULE 2: AD Enumeration
Topics:
User Enumeration
Share Enumeration
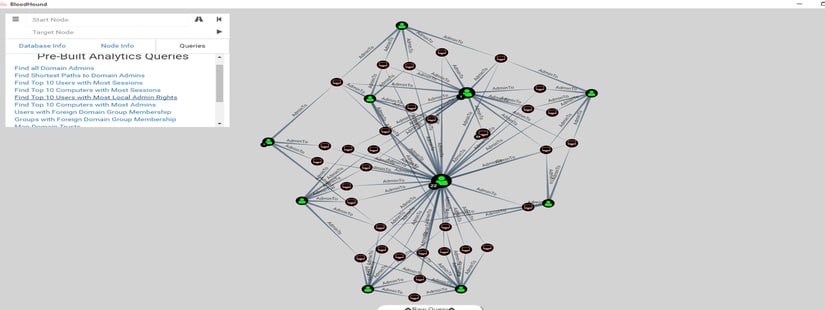
BloodHound Basics
MODULE 3: Credential Attacks
Topics:
Password Dumping
Hash Extraction
Pass-the-Hash Concept
MODULE 4: Lateral Movement & Persistence
Topics:
Lateral Movement Concepts
Maintaining Access
Cleanup Techniques
MODULE 5: Professional Reporting


Topics:
Report Structure
Executive Summary Writing
Risk Rating (CVSS)
Remediation Advice
Outcome:
✔ Student performs full domain attack in lab
✔ Writes professional pentest report
💎 MASTER BUNDLE STRUCTURE (FINAL OFFER)
Includes:
Level 1 + Level 2 + Level 3 + Level 4
30-Day Internship Mode
Real Lab Access
Resume & Interview Prep
Final Certification Exam


